Home / All Recipes / Chinese / Homemade Soy Milk (Plus Bonus Okara)
Homemade Soy Milk (Plus Bonus Okara)
Homemade soy milk with pandan leaves and toasted sesame seeds. You won't need to make a special trip to Chinatown for this Asian-style soy milk anymore.
I remember the very first soy milk I bought in United States back when I was still in my college years. I was so excited when I spotted them in the grocery, I quickly bought one home, and then immediately disappointed when the taste was totally different than what I use to have back in Indonesia (and other Asian countries in general).
Because of that experience, I have been making my own soy milk since. If you prefer the taste of soy milk to be closer to the one you drink in Asia, do give this homemade soy milk (plus bonus okara) recipe a try.
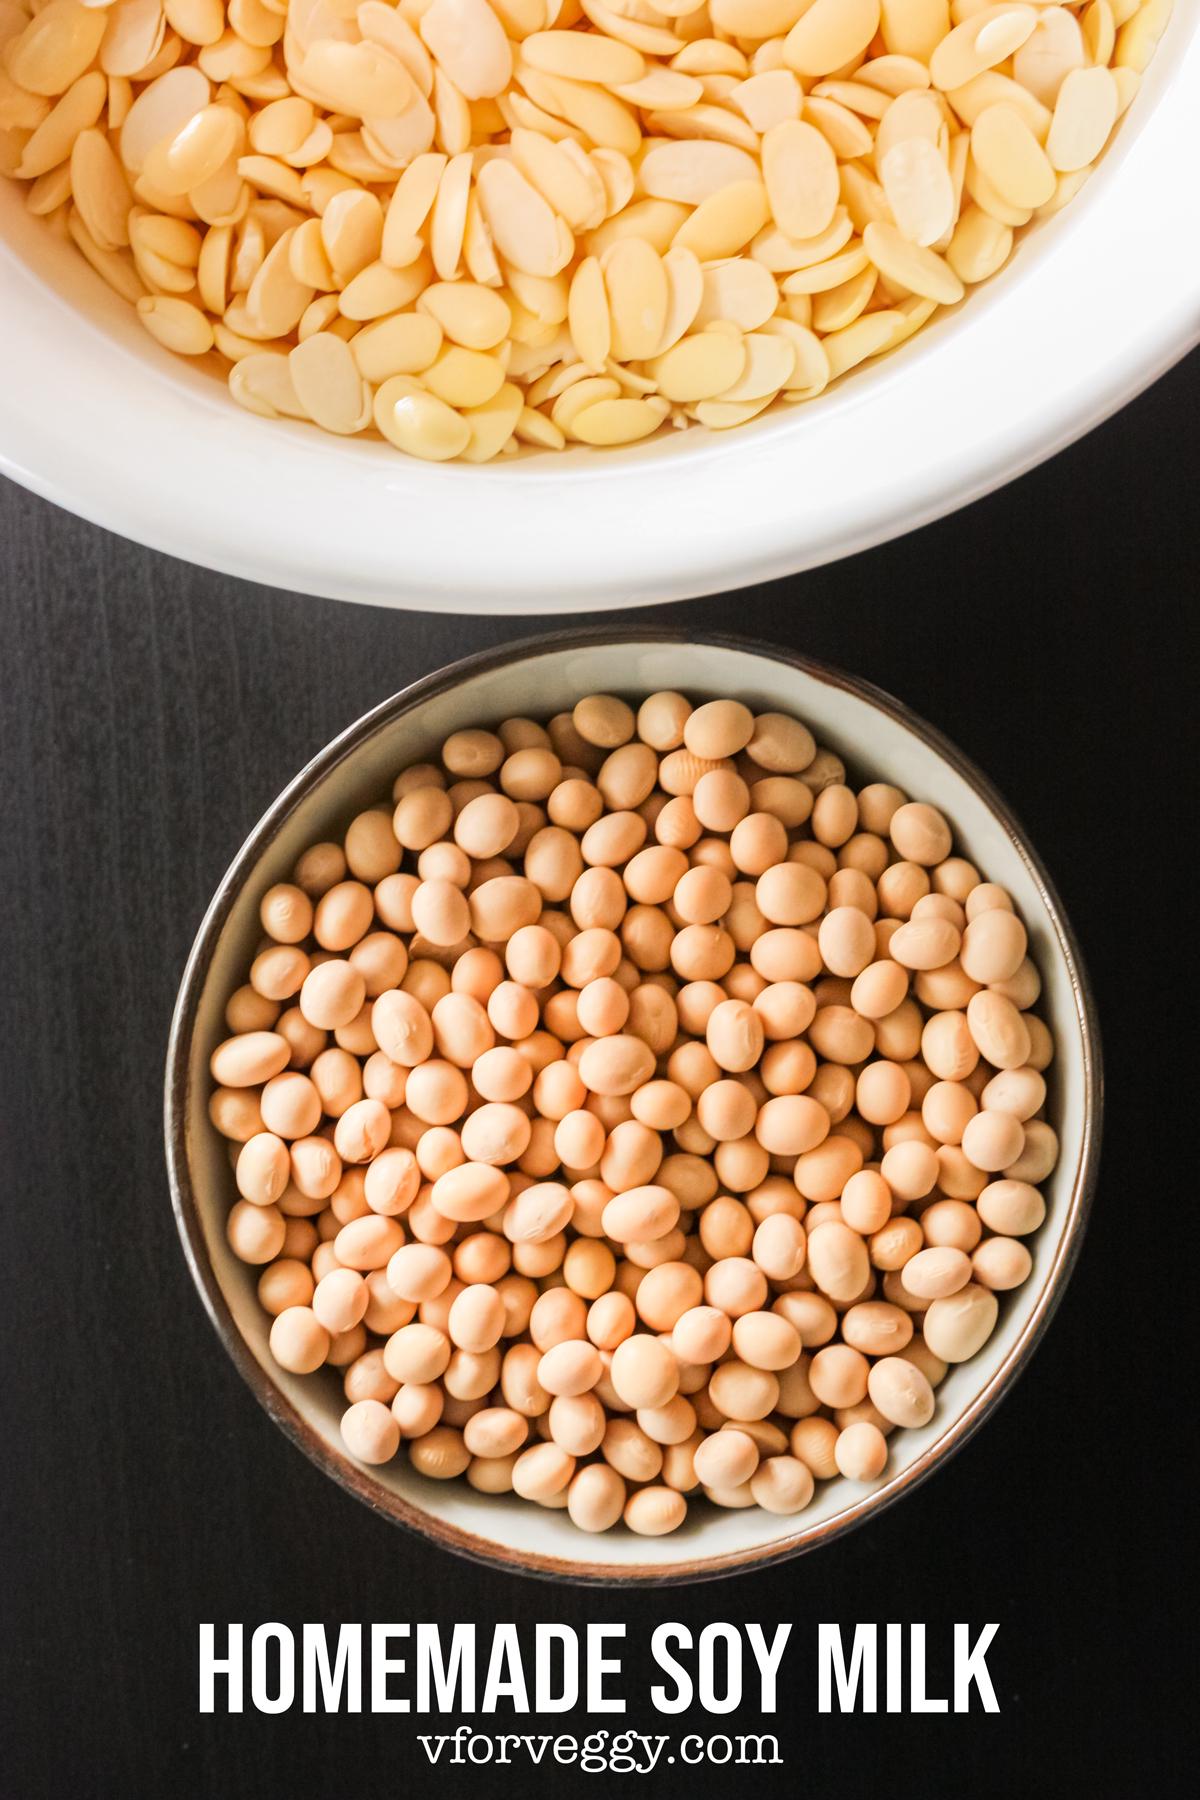
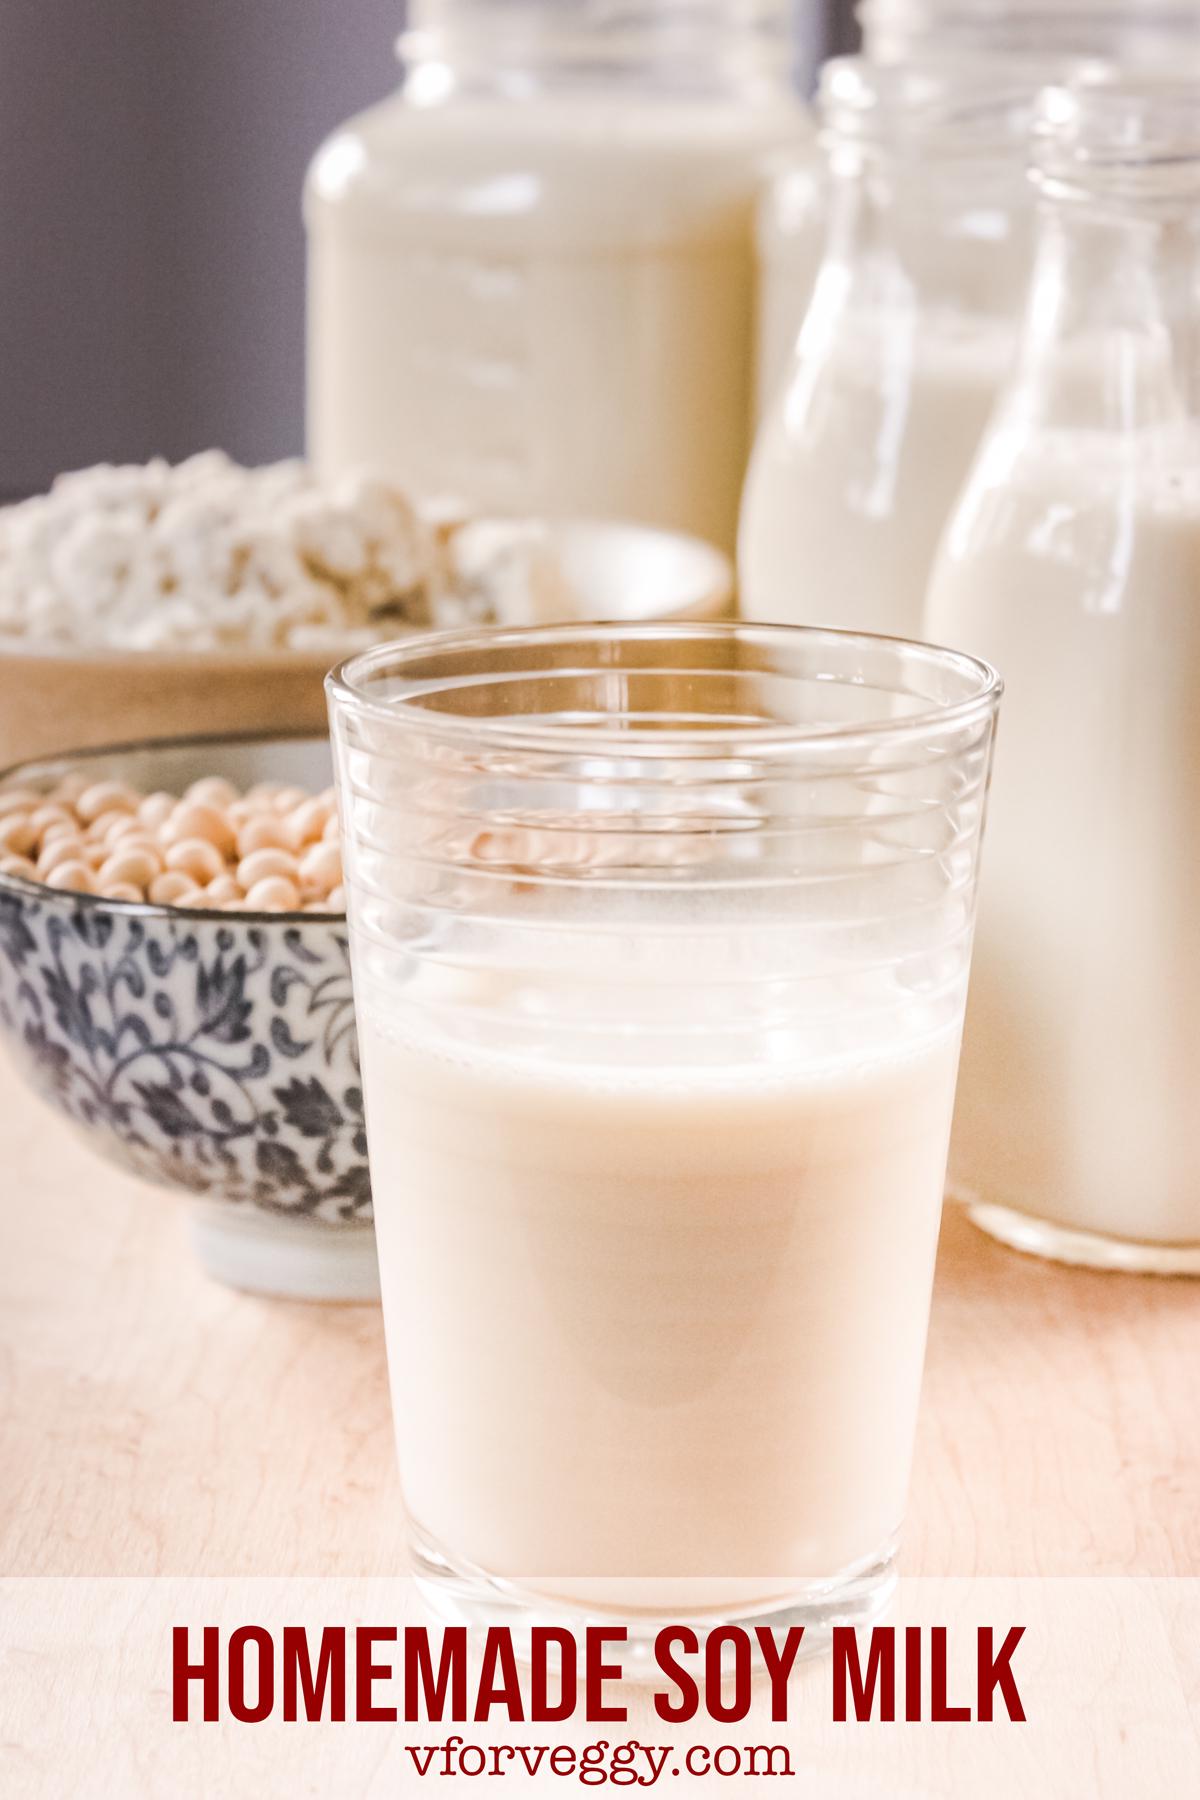
Dried soy beans, toasted sesame seeds, and pandan leaves
The key to getting Asian soy milk taste is to also use toasted sesame seeds and pandan leaves on top of soy beans.
You should be able to get frozen pandan leaves in most Asian markets, especially if the store sells a lot of Thai stuff. Lately, I’ve even spotted some Asian markets selling fresh pandan leaves in their produce section.
Another key factor is to soak dried soy beans in plenty of cold water overnight. Then, you need to rub the soaked beans with your fingers to remove the husk/skin. Do try to be thorough in removing the husk since not removing them do alter the final taste slightly.
How to make soy milk
Once the husks have been removed from the beans, puree in a blender with water. Unless you have a huge blender, most likely you will need to do this in batches.
Transfer the blended soy beans (plus the water of course) into a large soup pot, along with ground toasted sesame seeds, and knotted pandan leaves. Gently bring this to a boil, then quickly reduce to a bare simmer and cook for 15 minutes.
Strain over clean kitchen cloth to strain, and return the strained liquid to the pot and simmer again for another 15 minutes.
You have the option to add sugar if you prefer to drink sweetened soy milk.
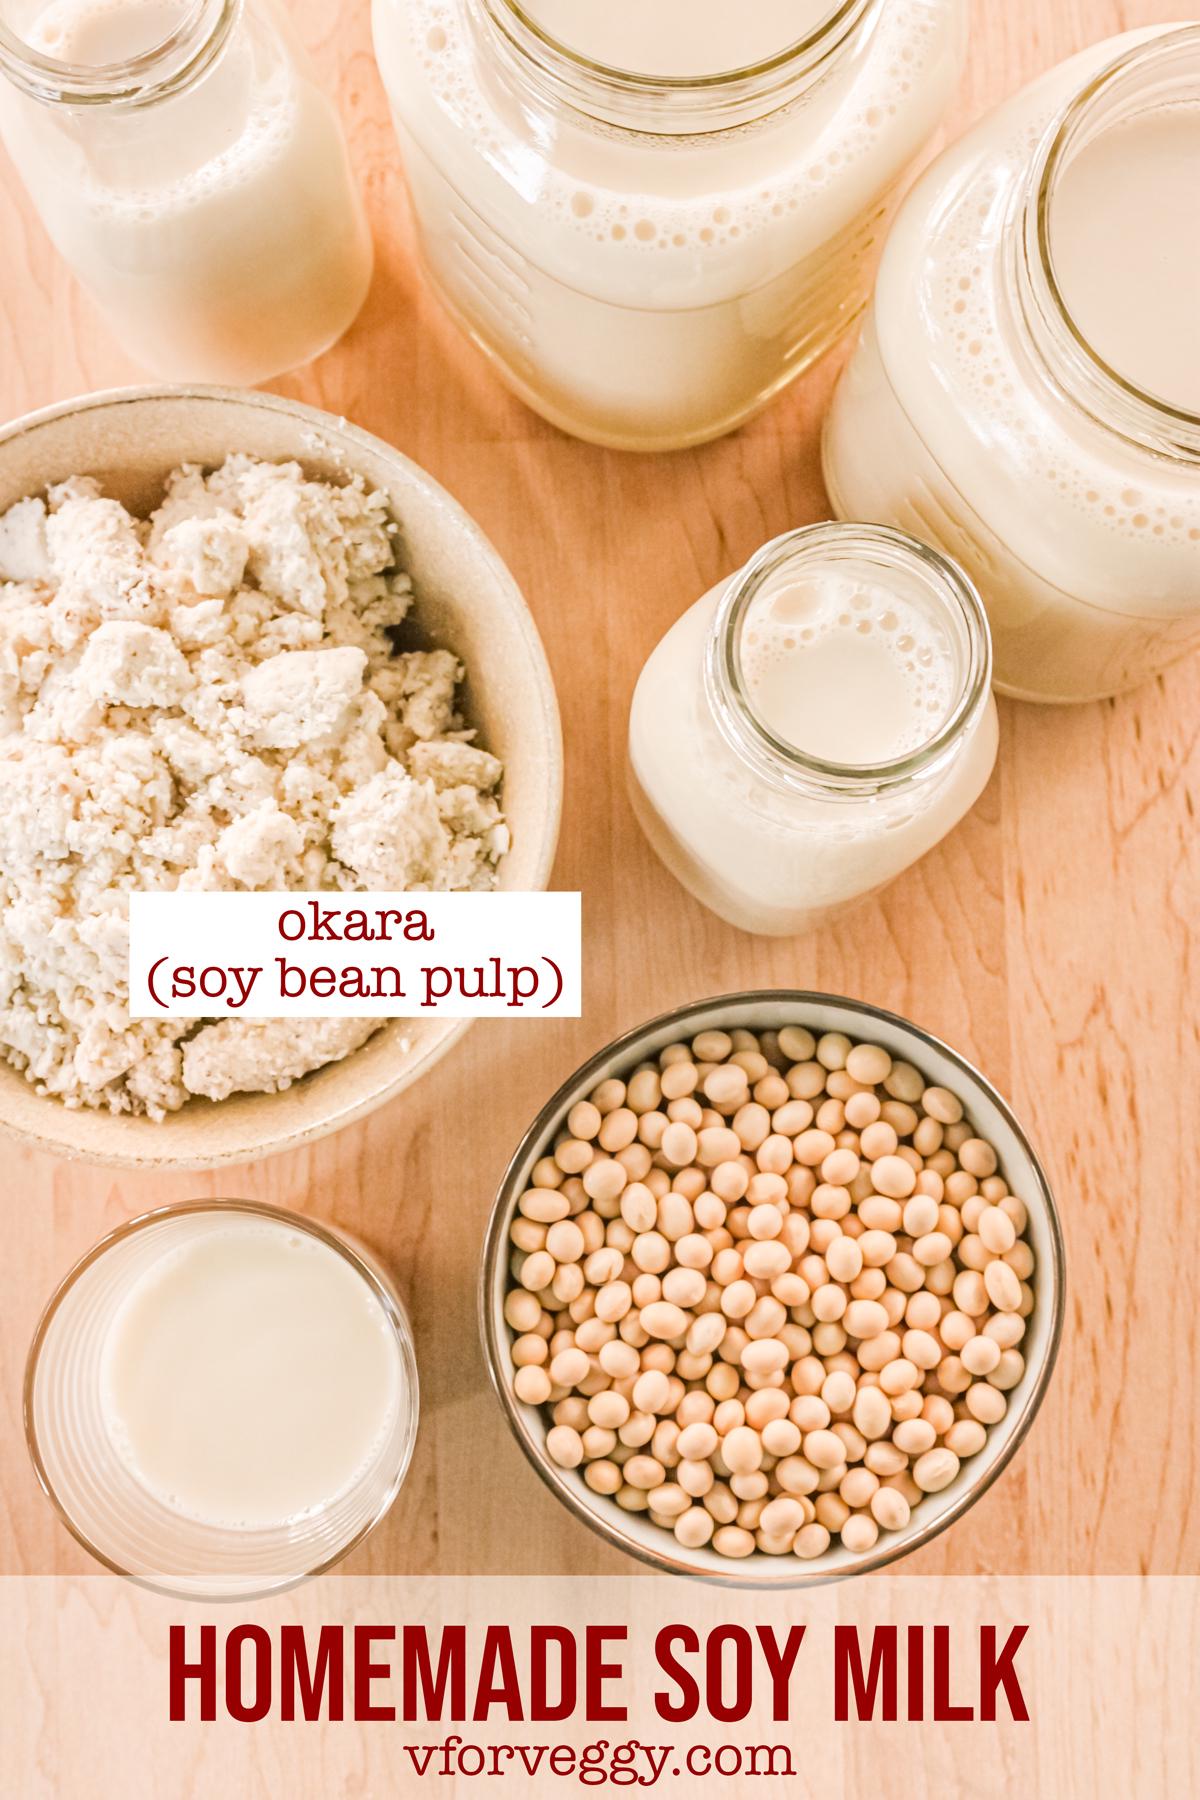
Okara, a.k.a leftover soy bean pulp
You will notice that by straining the soy milk, you get quite a bit of leftover soy bean pulp. Don’t throw this away. This leftover is called okara, and you can use it to make many other dishes, such as:
If you are not going to use the okara right away, store them in a freezer zip lock bag, and freeze until needed. I have successfully freeze my leftover okara for up to 2 months!
Homemade Soy Milk (Plus Bonus Okara)
Ingredients
- 250 gram dried soy bean
- 2½ tablespoon toasted sesame seeds, grind into powder
- 10 cups (2½ liter) water
- 3 pandan leaves, knotted
- ~ 10 tablespoon sugar, optional
Instructions
- Soak soy bean in plenty of cold water for 8 hours or overnight. Gently rub the beans to discard all the floating skin/husk as much as you can, wash and drain a couple more times until the water is clear.
- Process together soy bean and water in a blender until smooth. You will most likely need to do this in batches. Then transfer to a pot.
- Add ground toasted sesame seeds and pandan leaves to the pot, then bring to a rolling boil. Reduce heat and simmer for 15 minutes, stirring every so often.
- Strain the soy milk with a really fine mesh strainer (or line the strainer with a muslin cloth) to another clean pot to get a clear liquid. Squeeze as much of the milk as you can. The leftover soy bean pulp from the straining is called okara, and this can be used to make other dishes.
- Return the strained soy milk to pot and bring to a boil again, then reduce heat and simmer for another 15 minutes. Turn off heat, and serve immediately, or let cool and store in the fridge to be consumed within 1 week.


Comments
I've always wanted to make my own soy milk, I am so glad I came across your recipe - delicious!
I've always wanted a recipe for this. Can't wait to try it!
I LOVE soy milk! I've always wanted to make it after seeing Mum do it, so thanks for reminding me with how!
You made this process look so easy! Thanks for the clear instructions!
I had no idea it was so easy to make soy milk at home! Now that I've tried this recipe I won't be buying soy milk at the grocery store anymore!
Leave a comment